

Keeping your garden hose organized and well-maintained is crucial for a healthy and thriving garden. A garden hose reel is an excellent tool that can save you time and effort, providing you with a convenient and tidy way to store your garden hose. This article will guide you through the steps to install and use a garden hose reel in a hassle-free manner, making it easy for you to keep your garden hose protected and ready for use.
Whether you have a small garden or a large yard, there is a garden hose reel that will meet your specific needs. From wall-mounted to cart-mounted and freestanding models, choosing the right type of reel is essential. By following the simple steps in this guide, you can install and use your garden hose reel without any hassle and ensure that your garden hose stays in good condition for years to come.
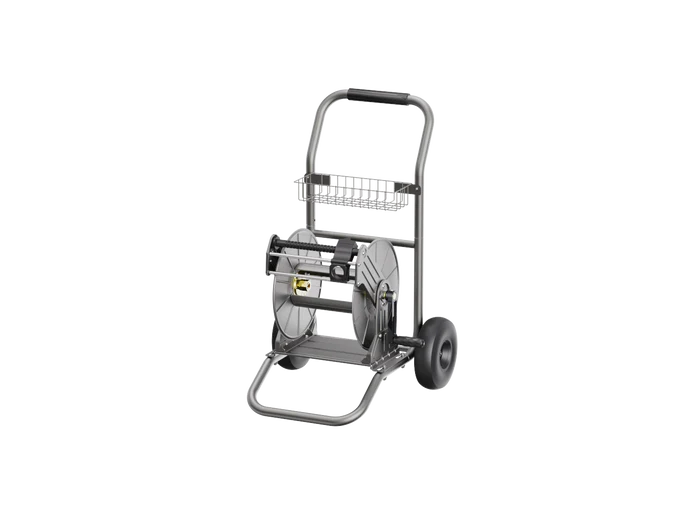
Step 1: Choose the Right Hose Reel
The first step in installing a garden hose reel is to choose the right type of reel for your needs. There are several different types of hose reels available, including wall-mounted, cart-mounted, and freestanding models. Wall-mounted reels are a good choice if you have limited space, while cart-mounted reels are more portable and easy to move around the garden. Freestanding reels are another option, and they’re perfect for larger gardens or yards where you need to cover a lot of ground.
Step 2: Prepare the Area
Once you’ve chosen your hose reel, it’s time to prepare the area where you want to install it. If you’re installing a wall-mounted reel, you’ll need to find a sturdy, level surface to mount it on. Make sure the surface is clean and free of debris before you begin. If you’re installing a cart-mounted or freestanding reel, you’ll need to clear the area of any obstacles or debris.
Step 3: Install the Hose Reel
Now that you have everything ready, it’s time to install the hose reel. If you’re installing a wall-mounted reel, use the mounting hardware that came with the reel to secure it to the wall. Make sure the reel is level and that the screws are tight. If you’re installing a cart-mounted or freestanding reel, simply place it in the desired location and secure it according to the manufacturer’s instructions.
Step 4: Connect the Hose
With the hose reel installed, it’s time to connect the garden hose to the reel. Make sure the hose is clean and free of any kinks or knots before you connect it. Most hose reels come with a connector that attaches to the end of the hose and then attaches to the reel. Make sure the connector is securely fastened to the hose and the reel.
Step 5: Wind the Hose
Once the hose is connected to the reel, it’s time to wind the hose onto the reel. Start by holding the end of the hose and walking it back to the reel. Make sure the hose is flat on the ground and isn’t twisted or kinked. Once you reach the reel, start winding the hose onto the reel, making sure it’s evenly distributed and not too tight.
Step 6: Store the Hose Reel
Now that your garden hose is neatly wound on the reel, it’s time to store the hose reel. If you have a wall-mounted reel, simply turn the handle to wind the hose onto the reel. If you have a cart-mounted or freestanding reel, make sure the handle is in the “off” position and then wind the hose onto the reel. Once the hose is wound up, store the reel in a safe, dry location until you need to use it again.
Conclusion
Installing and using a garden hose reel is a simple and easy process that can help keep your garden hose organized and prevent damage to the hose. By choosing the right type of reel, preparing the area, installing the reel, connecting the hose, winding the hose, and storing the reel, you can ensure that your garden hose stays in good condition and is always ready to use. With a little bit of effort and know-how, you can enjoy a beautiful garden.
Visit rooknow for more information.


